
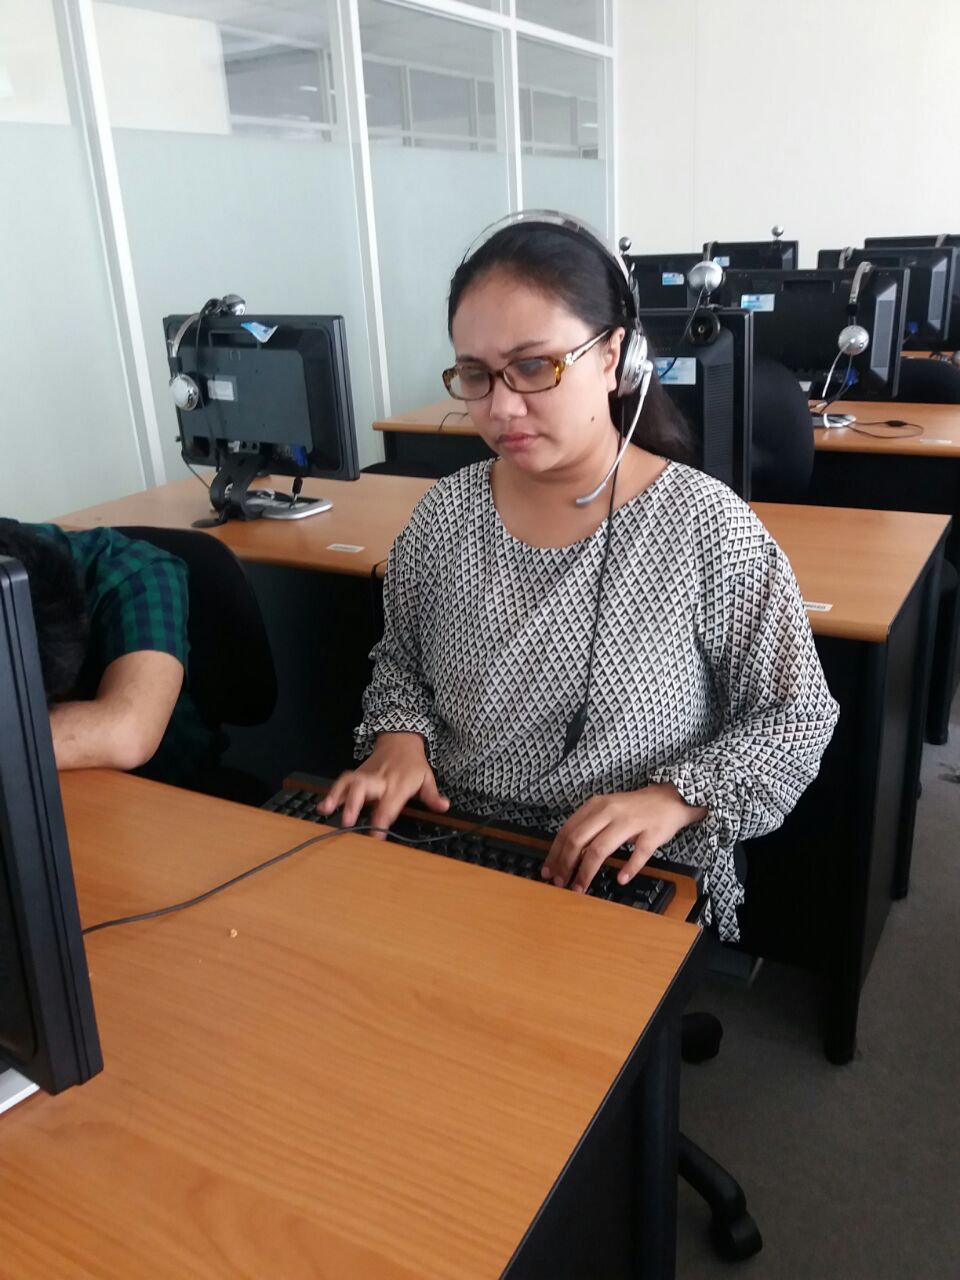
Tangerang, Kartunet - For a visually impaired person, mastering all the keys on a computer keyboard is a must. Unlike sighted individuals who can 'glance' at the keyboard at any time to see the letters, visually impaired individuals must memorize the position of each key. Sometimes, different computer or laptop devices may have slightly different keyboard layouts. However, the basic position of each key remains the same, with only modifications, for example, on the delete, enter, backslash, home, end keys, etc. The key to typing is that both index fingers must always be positioned on the F and J keys, which are usually equipped with tactile bumps as an accessibility aid.
Keyboard Row Division
Before memorizing finger placement on the keyboard, it's important to first understand the naming of each row, which comprises groups of keys on the keyboard. Each row can be named as follows:
- Function row. This is the row of keys from Escape (on the left) up to the 12 function keys from F1 to F12.
- First row. Consists of the ` key, numbers from 1 to zero, minus and equals signs, and the backspace key.
- Second row. Starts with the Tab key, then letters Q to P, the opening and closing curly bracket keys, and the backslash key.
- Third row. Consists of the Caps Lock key, then letters A to L, followed by the semicolon, apostrophe, and Enter key.
- Fourth row. Consists of the left Shift key, followed by letters Z to M, then the comma, period, forward slash, and right Shift key.
- Fifth row. Starts with the left Control key, then the Windows / Start key, left Alt, spacebar, right Alt, application key (if present), and continues to the right Control key.
Understanding these row names is crucial so that you won't be confused during finger placement and typing practice.
Hand Placement on the Keyboard
The basic instruction is to place both palms on the keyboard. Align your fingers to rest above the third row. Then, position your left index finger on the F key and your right index finger on the J key. Each finger will then have a specific responsibility or task to press only certain keys. Here is the division of tasks for each finger.
LEFT HAND
- Pinky Finger:
- First Row = ` and 1
- Second Row = Tab and Q
- Third Row = Caps Lock and A
- Fourth Row = Left Shift and Z
- Fifth Row = Ctrl and Windows
- Ring Finger:
- First Row = 2
- Second Row = W
- Third Row = S
- Fourth Row = X
- Middle Finger:
- First Row = 3
- Second Row = E
- Third Row = D
- Fourth Row = C
- Index Finger:
- First Row = 4 and 5
- Second Row = R and T
- Third Row = F and G
- Fourth Row = V and B
- Thumb:
- Fifth Row = Left Alt and Spacebar
RIGHT HAND
- Thumb:
- Fifth Row = Right Alt and Spacebar
- Index Finger:
- First Row = 6 and 7
- Second Row = Y and U
- Third Row = H and J
- Fourth Row = N and M
- Middle Finger:
- First Row = 8
- Second Row = I
- Third Row = K
- Fourth Row = , (comma)
- Ring Finger:
- First Row = 9
- Second Row = O
- Third Row = L
- Fourth Row = . (period)
- Pinky Finger:
- First Row = 0, -, = and Backspace
- Second Row = P, [ and ]
- Third Row = ; (semicolon), ‘ (apostrophe), and Enter
- Fourth Row = / (forward slash) and Right Shift
Typing Practice Guide
Follow these steps to easily master the ten-finger typing technique.
- Start by typing words that use key combinations in the third row (where your hands are positioned). Begin with keys assigned to the left hand, then the right hand, and then combinations of both hands in the third row. Examples: fada, dasa, sada, gada, and saga. Then continue with letters for both right and left hands such as: lada, jala, galah, gajah, and salah.
- Continue by typing words found in the second row. Similar to before, start with the left hand, then both left and right hands in the second row.
- Proceed to the fourth row. Start with the left hand, then combinations of letters for both left and right hands in the fourth row.
- Once you are proficient with each row, begin combining words and sentences that are combinations of all rows on the keyboard.
- One principle that must be remembered repeatedly is that your hand position should remain on the third row. Only your fingers should move up and down according to the key positions in the rows.
- Next, try typing the complete Pancasila text with punctuation as a ten-finger typing exercise. Try to use the ten-finger typing technique, and don't be tempted to give up and press keys one by one like on a phone keypad.
Quick Tips for Ten-Finger Typing Technique
Here are some tips to help you master the ten-finger typing technique more quickly. You can master it within a few hours; however, achieving typing fluency will depend on how diligently you practice.
- The reference point for your hands when typing is the third row. The position of both hands must not shift and should remain on the third row. Both index fingers must always be on the F and J keys, which have tactile bumps on them.
- When you want to type a letter or key that is not in the third row, remember that your hand position remains on the third row; only your fingers move up and down. For example, if you want to type the letter E, your left hand stays in position, and only your left middle finger moves up to the second row.
- When touch typing, never memorize the order of letters on the keyboard. Instead, memorize the finger movements for typing the letters. For example, if you want to type the word "lebar" (wide), what you should remember is: right ring finger in the middle, left middle finger up, left index finger down slightly to the right, left pinky finger in the middle, and left index finger up. This will type the word "lebar".
- Use visualization. It is important for you to first memorize the parts and layout of the keys on the keyboard. Then, when typing, imagine the arrangement of these keys in front of you. This way, when you type, you are no longer memorizing the order of letters, but rather your finger movements.
You can continue to practice typing so that your fingers become agile and accustomed to the keyboard. Remember, the key is the F and J keys. The left index finger on F and the right index finger on J; these two keys are easy to find because they have tactile bumps that can be felt and are different from other keys.